
Please note that the below is a brief guide to installation of rigid LVT flooring.
This guide does not replace the full installation instructions, which are available in every pack of flooring here. Full instructions must be read prior to installation and followed carefully; failure to install LVT flooring correctly will invalidate the warranty.
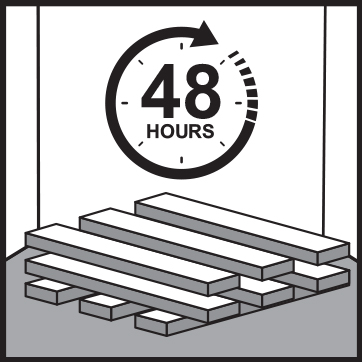
1. Store the goods flat, in the room they are to be used in, for 48 hours prior to installation.
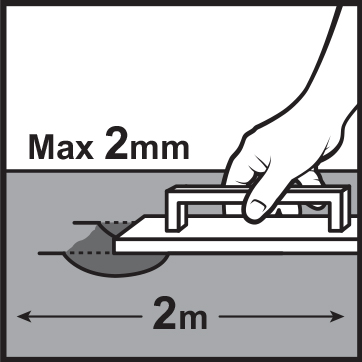
2. Prepare the subfloor, removing debris and ensuring it is level. Maximum 2mm variation within a 2m x 2m space.
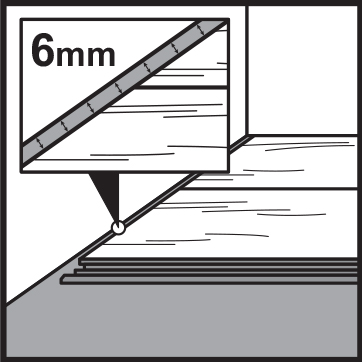
3. Expansion gaps of 6mm minimum are required around the perimeter of the room and around any fixed objects.
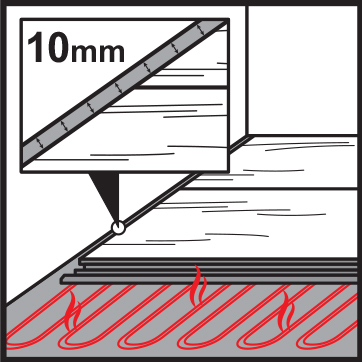
4. Expansion gaps must be 10mm minimum where UFH is in use.
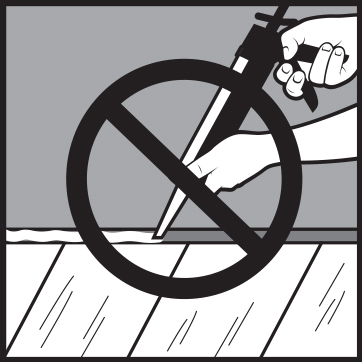
5. Do not obstruct any expansion gaps with objects or sealant.
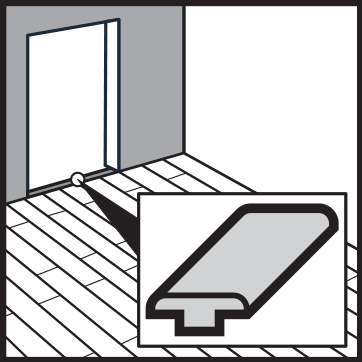
6. A door profile must be used in every doorway.
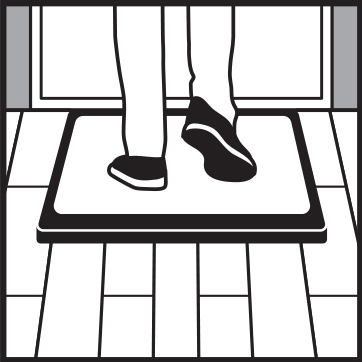
7. Door mats and furniture protection pads should be used to prevent scratching.
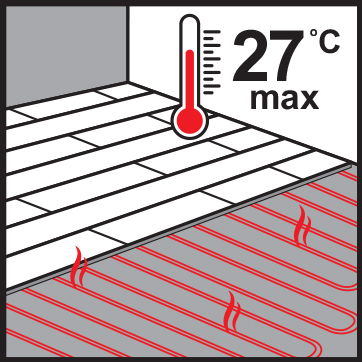
8. UFH not to exceed 27oC surface temperature.
Important: Refer to full UFH instructions prior to installation.
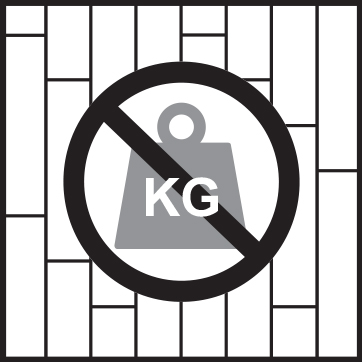
9. Heavy furniture (eg kitchen cabinets) cannot be installed over the floor.
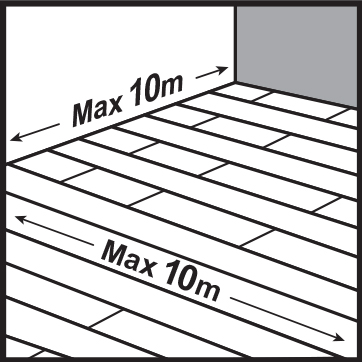
10. Maximum area of coverage without an expansion break is 10m x 10m.
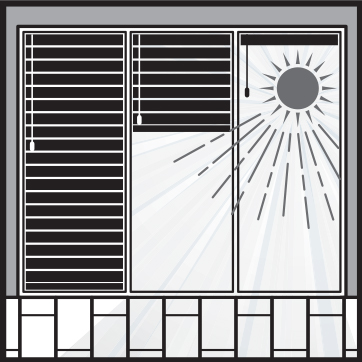
11. Blinds/window coverings must be used to protect from direct sunlight where bi-fold doors and/or Velux windows are present.